As an Amazon Associate, I earn from qualifying purchases made through links in this article.
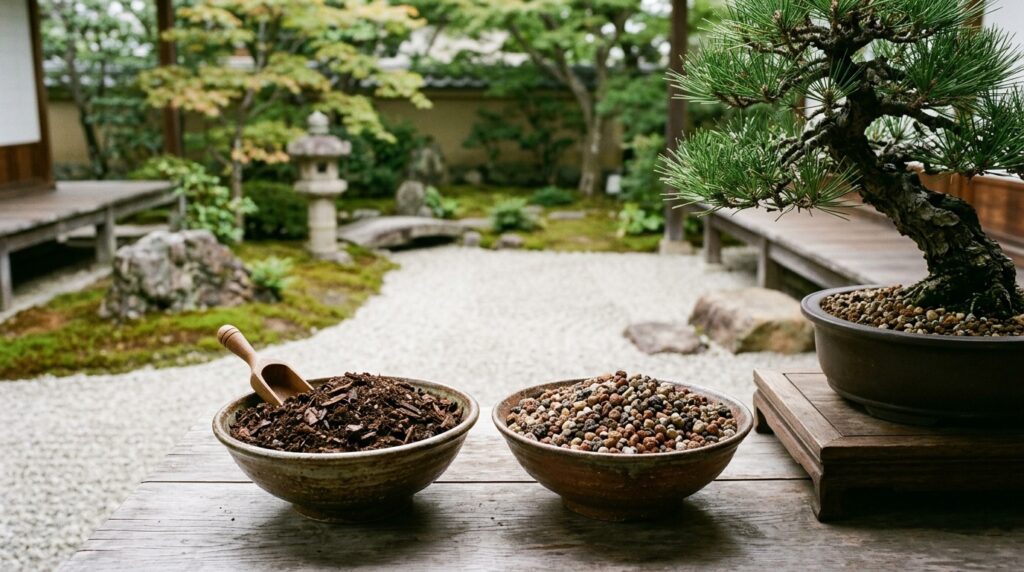
I start most established juniper bonsai with equal parts akadama, pumice, and lava rock, measured by volume. The best soil holds moisture inside its particles while leaving enough space between them for air and excess water to move.
After twenty years of practice, I pay more attention to how a pot dries than to the name on a soil bag. A useful recipe gives you a starting point; watching your own tree tells you whether that recipe belongs on your bench.
What soil is best for juniper bonsai?
For a healthy juniper in a bonsai pot, begin with one part hard akadama, one part pumice, and one part lava rock. For many medium-sized trees, sifted particles around 3–6 mm are a practical starting range. Smaller trees usually need a finer grade and closer watering attention.
This equal-parts blend is also the conifer recipe in Bonsai Empire’s soil guide. It is an established cultivation approach, not a scientifically proven optimum for every juniper. Pot depth, exposure, root density, and watering all change its behavior.
For Chinese junipers, including shimpaku types, and the familiar needle-leaved Juniperus procumbens “Nana”, I would begin with the same basic structure. Their foliage differs, but both need a root environment that drains reliably. NC State Extension describes “Nana” as a sun-loving shrub used for bonsai and lists good drainage among its requirements.
A newly purchased nursery juniper is a different case. It may be growing successfully in bark-based substrate in a deep container. Choosing its eventual bonsai mix does not mean removing all that existing soil today.
Understand what each ingredient contributes
Akadama: moisture retention and a readable surface
Akadama is a granular Japanese clay used as a bonsai substrate. It retains moisture and nutrients, and its color change makes surface drying easier to notice. Choose a hard grade for junipers when available, especially if you expect several years between repottings.
It eventually breaks down. How quickly depends on the material and growing conditions, so examine the particles instead of trusting a fixed lifespan. A surface that has become muddy or sealed deserves attention even when the original recipe was excellent.
Pumice and lava: a durable framework
Pumice is porous and holds some water while helping maintain an open structure. Lava contributes durable particles and weight. Neither should be treated as completely waterless gravel; particle size and porosity affect how the whole mixture behaves.
I prefer ingredients of broadly similar sizes. Adding tiny particles to large stones can fill the spaces you were trying to preserve. A bag containing the right ingredients can still perform poorly if much of it is dust.
Organic material: useful in the right setting
Screened pine bark can be useful in development containers or where moisture retention needs increasing. Fine peat, compost, and garden soil are less forgiving in a shallow bonsai pot because they can form a persistently wet, compact mass.
A young tree being grown for trunk thickness does not need the same container as a refined specimen. Give development roots room. The shallow, quiet pot that suits an old juniper visually should follow a suitable root system, rather than force one prematurely.
Adjust the mix to your climate and daily routine
These are trial proportions by volume, not laboratory prescriptions. Start with a small batch and change one variable at a time. Particle grade matters alongside percentages: fine lava does not automatically improve drainage just because it is lava.
| Growing conditions | Akadama / pumice / lava | What to watch |
|---|---|---|
| Moderate climate; regular checks | 1 / 1 / 1 | Whether the interior begins drying between thorough waterings |
| Cool, rainy exposure | 1 / 2 / 2 | Persistent wetness, accumulated fines, and blocked drainage holes |
| Hot, dry, windy exposure | 2 / 1 / 1 | Whether the rootball dries too far before the next check |
| Very small bonsai pot | Begin with 1 / 1 / 1 in a suitable smaller grade | Rapid drying; the need for additional checks or automatic watering |
During teaching, I often ask someone to lift a freshly watered pot and lift it again later. That change in weight gives the surface color useful context. Two junipers beside each other can need water at different times when their pots and root systems differ.
If you cannot water during a hot afternoon, increasing moisture retention modestly may help. A more sheltered position or dependable irrigation may matter more. No mixture can make a tiny pot independent of summer attention.
Use your current tree as evidence. Record the mix, pot dimensions, and whether the rootball is still damp at your next normal check. After several weather patterns, those notes are more useful than another universal recipe.
Avoid changing the mix simply because another grower gets good results with something different. Their summer humidity, bench exposure, and watering frequency may be unlike yours. If roots are healthy, water enters evenly, and the tree grows steadily, keep that evidence. When an adjustment is needed, make it at the next suitable repotting and retain notes so you can judge the result fairly.
Buy a bagged mix or prepare your own
For one or two trees, a granular akadama, pumice, and lava bonsai mix is convenient. Check the actual ingredient list and stated particle size. “Premium bonsai soil” alone tells you very little, and a cactus mix may contain substantial fine organic material.
Mixing your own becomes worthwhile when you need different grades or climate adjustments. Compare prices by usable volume after sifting, rather than bag weight: lava is much heavier than some other ingredients. Buy horticultural materials with clear descriptions instead of assuming an absorbent household product will remain stable after repeated soaking.
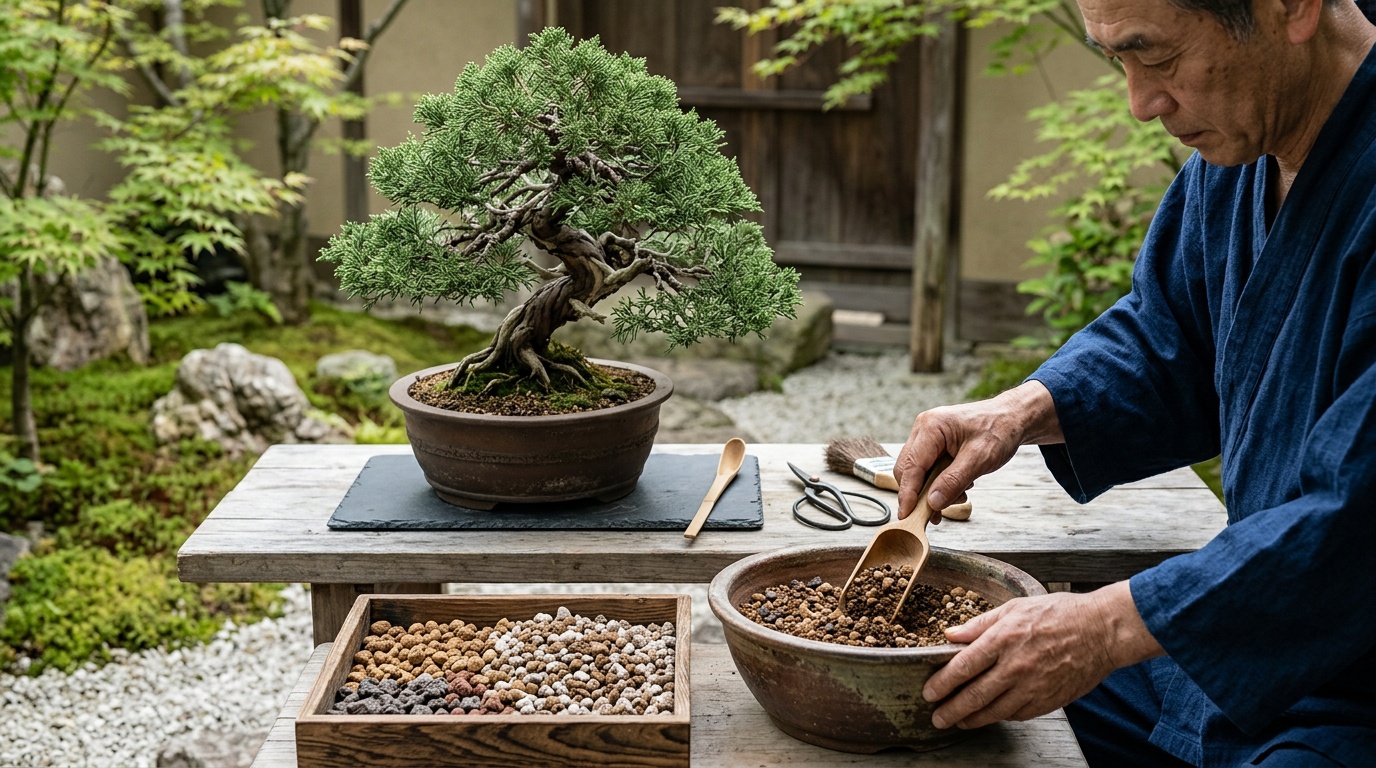
- Grade the ingredients. A bonsai soil sieve with interchangeable screens helps remove dust and oversized pieces. Work where airborne dust will not collect around you.
- Measure by volume. Use the same scoop for each component, then combine gently so softer particles are not crushed.
- Prepare the container. Fit drainage mesh and anchoring wire before positioning the tree. Ensure the holes can discharge freely.
- Settle the mix around roots. Work carefully with a chopstick to fill larger voids without stabbing or compacting the rootball.
- Water thoroughly. Wet the entire rootball and observe drainage. Keep the pot above standing runoff.
I use a reasonably consistent grade through the root zone. A thick gravel layer underneath fine, tired soil does not repair that soil’s structure. Nor does sprinkling fresh akadama over the surface refresh what lies beneath.
Watering, pH, and feeding make the recipe work
Check moisture below the exposed surface before deciding to water. A wooden skewer placed carefully into the rootball can supplement touch and pot weight. Let the soil begin to dry, then water thoroughly; do not wait until the entire rootball is bone dry.
Watch for water escaping around the edge while the center stays dry. Conversely, a dry-looking mineral surface can cover a wet nursery-soil core. I have learned to check that core separately after a staged soil conversion; the new outer mix cannot tell me everything about the old interior.
Junipers do not need an exact pH target
NC State Extension reports that Chinese juniper tolerates approximately pH 5.0–8.0 in well-drained landscape soil. That broad tolerance is a reason to avoid unnecessary acidification, not a guarantee that every container condition within that range is ideal.
Start with suitable horticultural substrate. If growth becomes pale or weak despite appropriate light and watering, investigate roots, pests, fertilizer, and water quality. Repeatedly adding acid or lime without testing can introduce a second problem.
Feed the tree without trying to enrich the pot with compost
A largely mineral mix requires a feeding routine during active growth. Use a suitable fertilizer at its labeled container rate, adjusting for the tree’s condition. Extra fertilizer cannot correct compacted substrate or damaged roots.
A study of NPK fertilizer and Juniperus procera found that soil condition and fertilizer treatment affected growth and nutrient accumulation in fire-damaged and intact soils. That supports attention to nutrition, but its experimental doses are not instructions for feeding a shimpaku in a shallow pot.
Refresh the soil when its performance changes
Inspect annually and consider repotting around every two to three years for an actively growing juniper. Mature trees may need longer intervals. Bonsai Empire’s juniper guide suggests roughly two years, longer for old trees, and recommends early spring with restrained root pruning.
Repotting becomes more pressing when water repeatedly pools before entering, particles have collapsed, or a dense root mass makes even watering difficult. First check that drainage holes are clear. One slow watering after a dry spell is not sufficient evidence to dismantle the roots.
Avoid routine complete bare-rooting of junipers. Preserve functioning roots and convert dense nursery substrate gradually across appropriate repottings. The amount removable at one session depends on vigor and the root system; an arbitrary percentage cannot make the operation safe.
For a first conversion, especially on an old or weak tree, seek hands-on help from an experienced local grower. Avoid combining substantial root work with major foliage removal or severe bending. Give the tree a recovery period protected from drying wind and temperature extremes.
One habit I kept from training in Osaka and Kyoto is to stop when the necessary work is done. An imperfect patch of old substrate can wait if removing it would cost too many healthy roots.
Choose soil with outdoor winter care in mind
Junipers belong outdoors, with seasonal conditions appropriate to their species. Winter protection should preserve dormancy while sheltering vulnerable container roots. A warm living room is not a substitute for a suitable cold frame or sheltered outdoor setup.
In a rainy winter, unobstructed drainage and stable particles matter greatly. In a cold, windy winter, dehydration also matters. Check moisture during thawed periods, water when needed while the substrate can absorb and drain, and do not assume precipitation has reached a pot under shelter.
Match protection to local minimum temperatures, pot size, species, and recent root work. Landscape hardiness ratings describe plants in the ground; they do not establish a safe minimum for exposed bonsai roots. A local bonsai club can help interpret your winter conditions.
The research offers useful context, with limits. A 2007 study of Utah juniper water use found that wild trees could extract deep soil water under dry conditions. A shallow pot offers no comparable deep reserve, so drought tolerance should never become a reason to neglect watering.
Similarly, research on soil organic carbon in Saudi Arabian juniper and acacia forests examined forest soils and tree characteristics. It did not compare bonsai substrates. Forest ecology helps explain trees, but it cannot establish how much compost belongs in your bonsai pot.
Frequently asked questions
-
Can I use normal potting soil for juniper bonsai?
Ordinary fine potting soil is usually a poor choice for a shallow juniper bonsai pot because it can stay wet and lose air space. A tree already growing in nursery substrate should be transitioned carefully at an appropriate repotting, rather than stripped immediately.
-
How often should I refresh the soil for juniper bonsai?
Inspect every year. Many actively growing junipers need repotting approximately every two to three years; mature trees may go longer. Let drainage, particle breakdown, root density, and tree health guide the decision, with early spring generally the preferred season.
-
Does juniper bonsai need a special pH?
Common junipers tolerate a fairly broad pH range and do not need a special acid-loving mix. Prioritize drainage and appropriate watering. Test before attempting chemical adjustments, especially when persistent growth problems suggest water-quality or nutrient issues.
-
Should I buy a bagged mix or make my own for juniper bonsai?
Buy a clearly labeled granular mix for convenience with a small collection. Mix your own when you need control over proportions, particle grade, or cost across many pots. Ingredient quality and suitability to your watering routine matter more than who mixed the bag.
Begin with a sound, simple mixture and observe it through the seasons. The aim is a root system you can care for reliably, giving the juniper time to develop its character.